Help Center - Create Your First Job
Create Your First Job
This guide shows you how to automatically run and distribute a Crystal Report using Smart Report Organizer.
After completing these steps, your report will be generated and delivered automatically (e.g. as PDF via email or file export).
Follow the steps below to set up your first automated report.
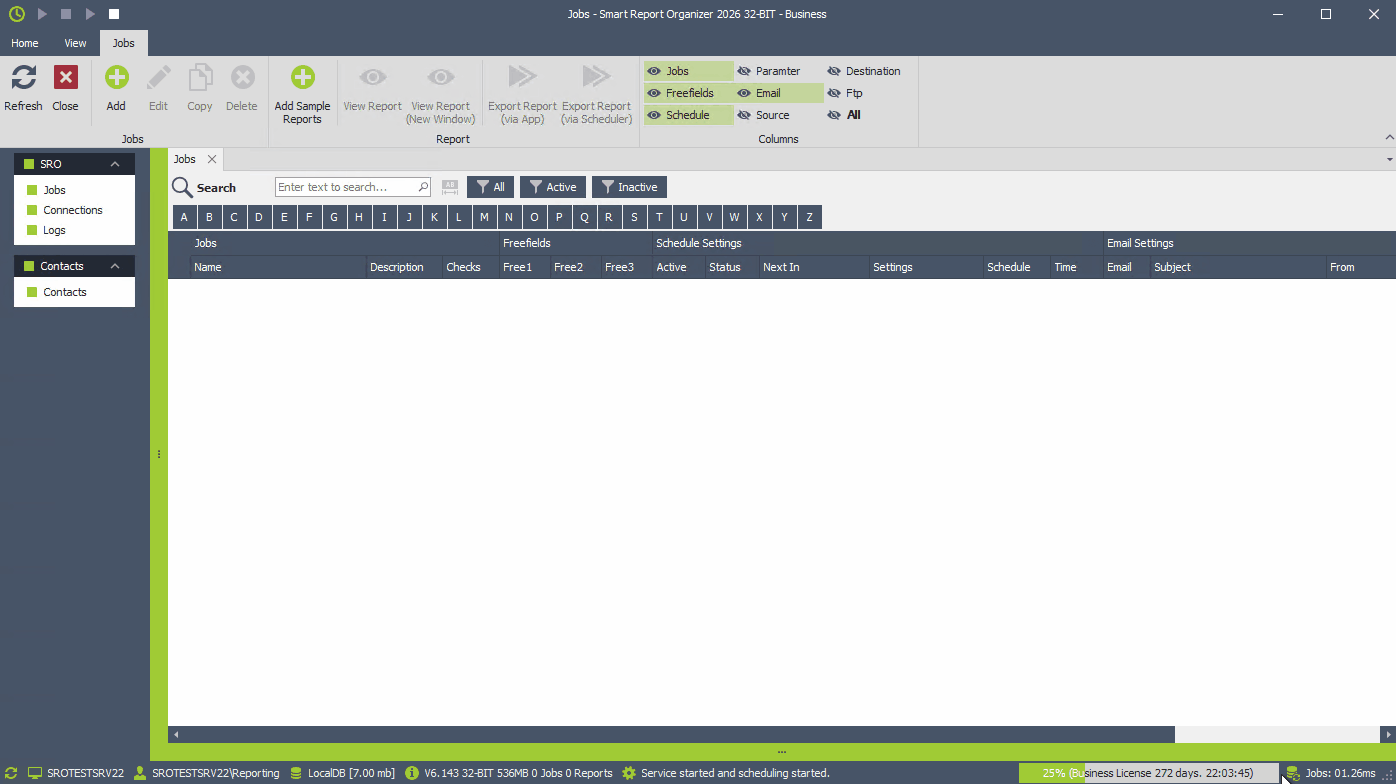
Create Job
Start by creating a job for the report you want to run automatically.
- Click [Add]
- Click [Select Report]
- Select your Crystal Report file and click [Open]
- Change "Name" if needed
- Add a "Description" if needed
- Click [OK] to save
Configure Schedule
Define when the report should run automatically.
- Go to the [Schedule] tab
- Enable [Active]
- Select a schedule type (Specific Date, Every Minute, Every Hour, Every Day, etc.)
Configure Destination (File Export & Email)
Define where the generated report should be saved and whether it should be sent by email.
- Go to the [Destinations] tab
- Click [Add] or [Modify]
File Export
- Click [Select Folder] and select the destination folder
- Specify the export filename without the file extension
- Select the file formats you want to export to (PDF, Excel, CSV, Word, etc.).
- Optional: Configure advanced export settings for Excel or CSV
- Select [Send Email with Attachments] to enable email sending.
- Click [OK] to save
Email Settings
- Go to the [Email] tab
- Enter the sender [From] and recipient(s) [To] [Cc] [Bcc]
-
Enter a subject and email body.
You can use HTML email body (Recommended)
You can use the dynamic text feature in the email subject line and email body. (Recommended)

Configure Parameters
Define the parameters that will be automatically applied when the report runs.
- Go to the [Parameters] tab
- Add required report parameters
- Enter fixed values if your report should always run with the same parameters
- Use dynamic values if parameters should be calculated automatically before the job runs

Dynamic Parameters
Automatically calculate parameter values based on the current date or time (e.g. yesterday, last month, current year, next week).
This works for all parameters depending on their type (Date, DateTime, Number).
Example: Previous month using date parameters.
Example: Previous month using number parameters.

Configure Connections
If your report requires database access, configure it here.
Authentication Types
- Windows Authentication: No credentials required
- SQL Authentication: Username and password required
Set up the database connections
This example includes a main report and a subreport with different data sources.
Next, configure the database connections for both.
Change database connection settings:
With SRO, you can also override the connections in your report and, for example, change the server, database or user.
In this example, we will now change the destination database and user for the subreport.

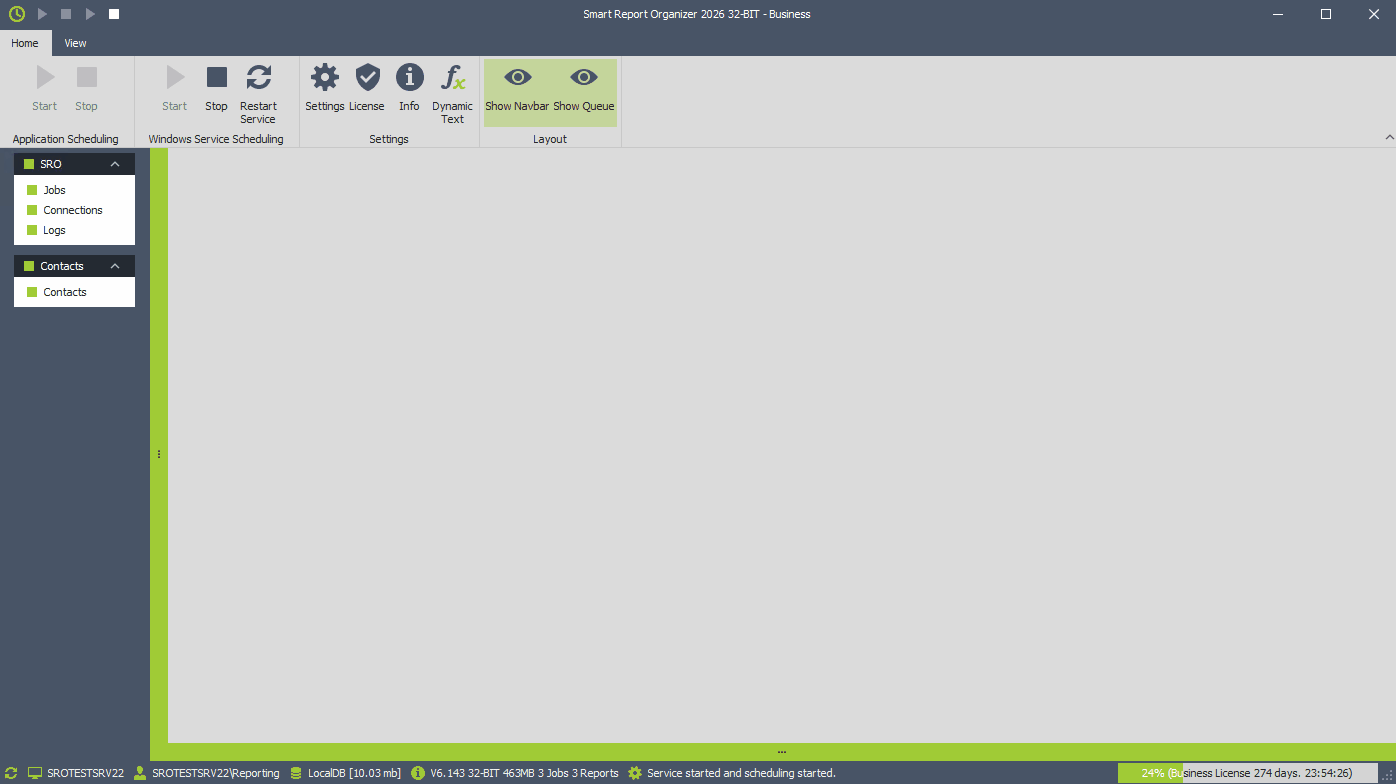
You're done! Your report will now run automatically in the background.
Save time, reduce manual work, and ensure your reports are always delivered on time.
