Help Center - Windows Service Settings
Windows Service Settings
To ensure reliable execution of scheduled jobs, it is recommended to use the Windows Service.
This allows Smart Report Organizer to execute tasks even when the application is closed and no user is logged in.
Configure the Windows Service
- Press Windows + R, type services.msc, and press Enter.
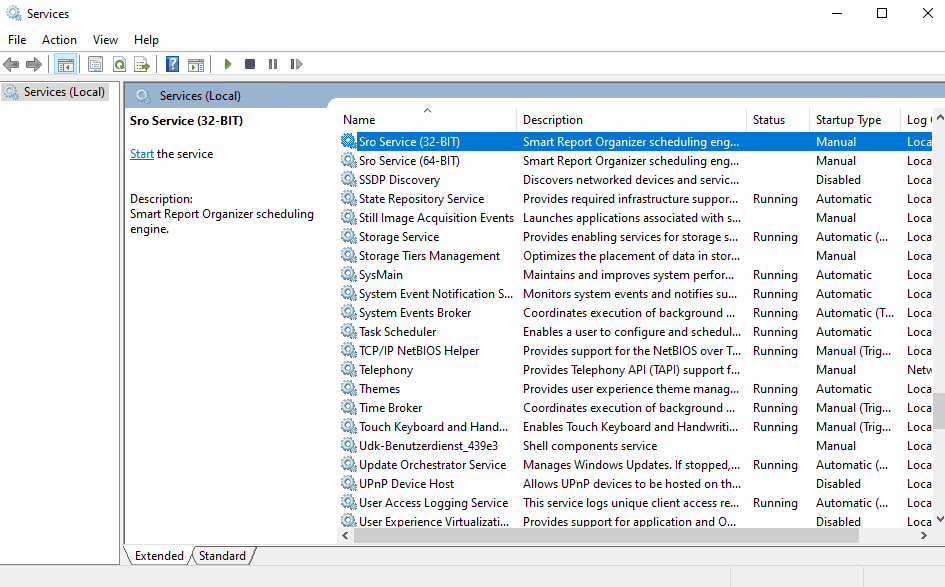
- Find Sro Service (32-BIT) or Sro Service (64-BIT) in the list of services.
- Double-click the service to open its properties.
- In the Log On tab, select the same Windows user account used for Smart Report Organizer.
-
In the General tab:
- Set Startup type to Automatic
- Click Start, Apply and OK
Example: Configure the Windows Service
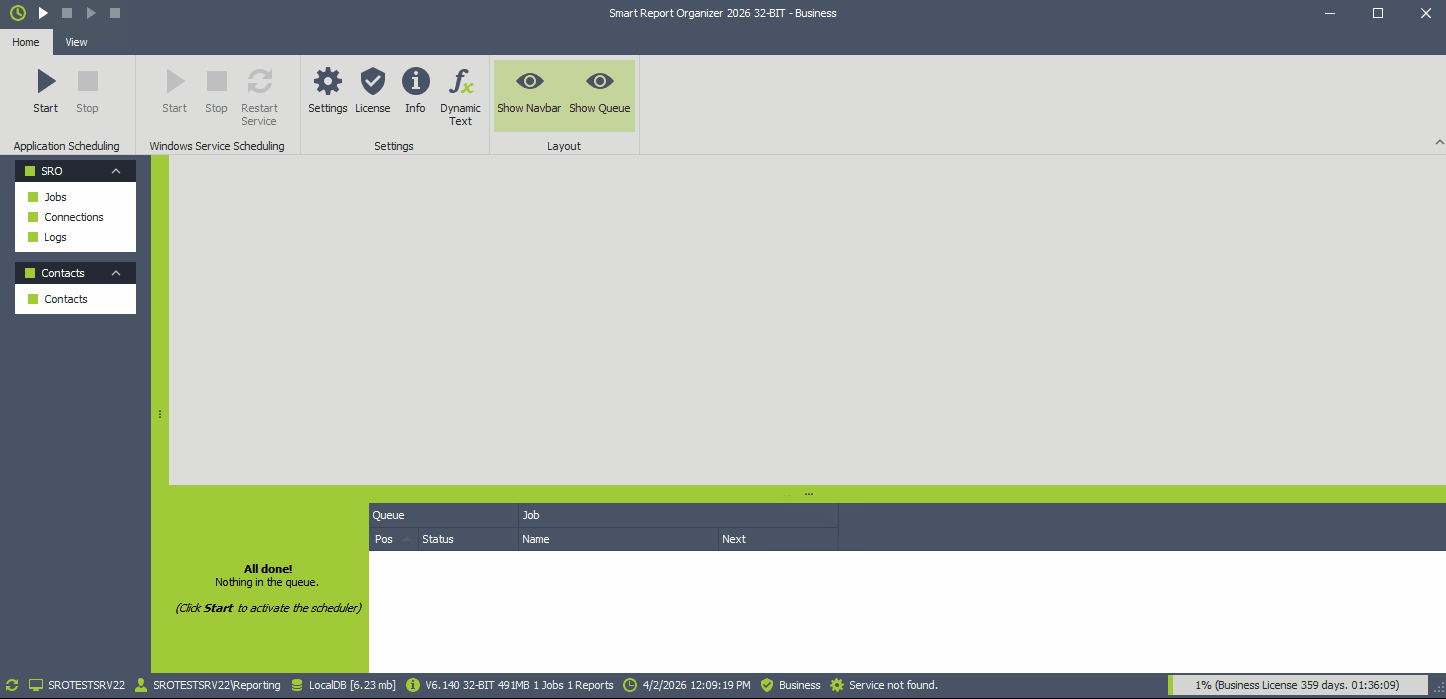
Verify that the Windows Service is running
Follow these steps in Smart Report Organizer to verify that the Windows Service is running.
Check the currently logged-in user
The Windows Service must run under the same user account you are currently logged in with.
If you need help to verify which user account is currently active on your computer, follow the steps below.

Important: Use UNC Paths
Always use UNC paths for all job configurations (report paths, export paths) and ODBC settings.
Windows Services run in their own security context and typically cannot access mapped drives (e.g., F:\).
Examples:
- Report: Use \\fileserver\Reports\Report01.rpt instead of F:\Reports\Report01.rpt.
- Export: Use \\fileserver\Reports\Report01.xlsx instead of F:\Reports\Report01.xlsx.
- ODBC: Use \\Server01\test.mdb instead of F:\test.mdb.
If you use mapped drives, scheduled jobs may fail.
Note: Starting with Smart Report Organizer 2026, the Windows Service names have changed:
- Sro Service (32-BIT)
- Sro Service (64-BIT)
Troubleshooting
- The service does not start → Check user account and permissions
- Jobs are not executed → Verify UNC paths
If you need assistance, please contact your system administrator or IT department.
